The Hand Tools Worth Keeping Clean and Ready
A workable tool-care routine depends on your space, soil and storage—not on elaborate equipment. Compare quick resets, deeper cleaning and rust prevention to choose habits that fit.
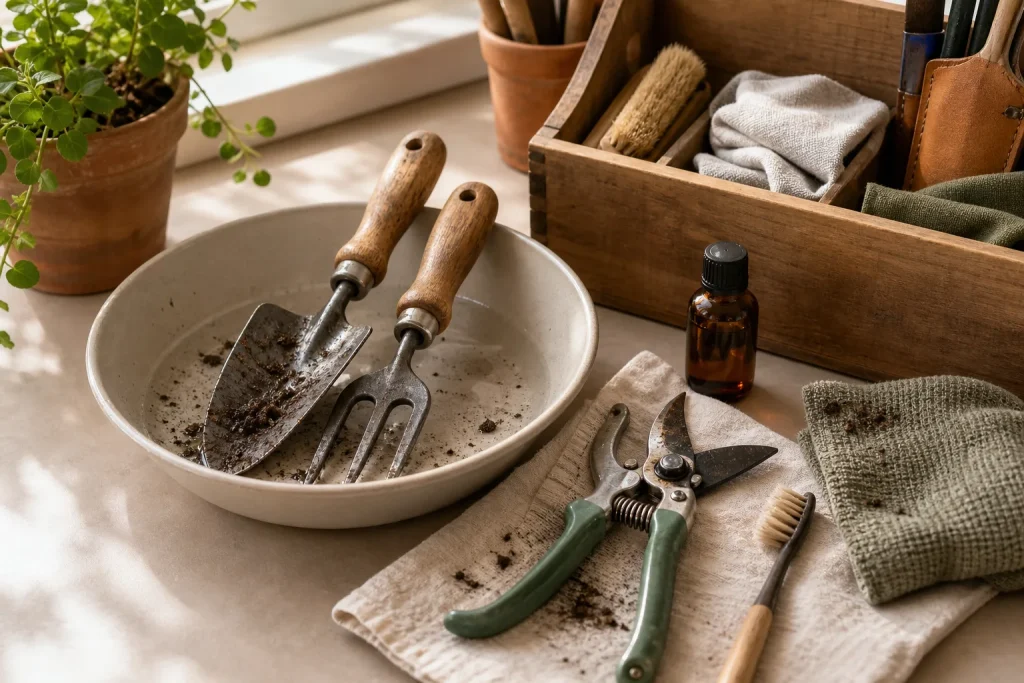
A workable tool-care routine depends on your space, soil and storage—not on elaborate equipment. Compare quick resets, deeper cleaning and rust prevention to choose habits that…
Tools · 7 min read
A trowel left beside a damp balcony planter can carry soil into storage, while a hand fork wiped down near a sunny windowsill may be ready for its next job. A useful care routine depends on what is stuck to the tool, how it is built, and where it will be stored. Brushing, careful cleaning and rust protection each suit different conditions.
Match the cleaning method to the tool
Trowels, hand forks, narrow weeders, pruning snips and hori-hori knives all collect material in different places. Soil lodges between fork tines; sap clings to pruning blades; moisture can remain near a hinge or handle joint. Wooden handles can also stay damp if put away dirty.
For ordinary soil, keep a small stiff brush, an old toothbrush for tight spots and a clean cloth near the potting area. A basin can catch rinse water and loose soil. Brush off dry debris before using a damp cloth, and avoid soaking tools with wooden handles, springs or joints. Water trapped in those areas can be difficult to remove.
For sticky sap, first check the tool maker’s care instructions and the cleaner’s label. Some products may damage a finish or other materials. If the instructions permit rubbing alcohol on the metal blade, apply a small amount to a cloth rather than pouring it onto the tool. Keep the product away from flames, use it with suitable ventilation, and let the blade dry before storage. If the advice is unclear, use a dry cloth and consult the manufacturer rather than guessing.
When brushing pruning snips, open them carefully and keep fingers away from the cutting edges. Set aside a damaged tool or one with a faulty lock until it can be repaired or replaced; do not rely on it for a demanding cut.
Use a quick reset for loose soil and routine work
For a trowel used in loose potting mix or a fork used in dry container soil, brush away debris, wipe the tool with a cloth and let it dry before putting it away. Check the blade, teeth and handle connection, where moisture or soil can hide. A dry shelf, wall hook or ventilated tray keeps tools from sitting in a damp pile.
A brush and cloth in a small caddy can make cleanup easy to reach, but do not leave wet tools inside it. In a shared shed, hang tools separately or place them on a clean, dry surface while they air-dry. The observable cue for putting them away is a dry blade and no visible moisture at joints or handle connections.
A quick reset is not enough when soil has hardened or sap remains. In that case, move to a deeper clean instead of coating residue with oil or storing it for later.
Choose a deeper clean when residue or plant material calls for it
Brush off loose dirt first. For stuck soil, wipe the metal with a damp cloth or briefly rinse the metal portion, then dry it thoroughly. Avoid directing water into springs, pivots or wooden handle joints. For snips, clean both sides of the blades and the area around the pivot without placing fingers near the edges.
If a tool has touched plant material that may carry disease, check whether its maker permits a blade disinfectant. Follow the product label, keep it away from other cleaners, and allow the tool to dry before storage. Do not mix cleaning products. If a tool has an intricate mechanism or an unfamiliar finish, consult its care instructions before applying a cleaner.
Protect metal only when storage conditions call for it
Tools kept in a humid greenhouse, an outdoor box or an unheated shed may need extra protection from rust. Clean and dry the tool first. Then, if the manufacturer recommends it, apply a very light film of a tool-appropriate oil to exposed metal and wipe away excess. Follow the oil label and tool guidance, especially for equipment used on edible plants: do not leave an unapproved product on a cutting surface that may contact food crops.
For a dry cupboard or a frequently used windowsill kit, careful drying and sensible storage may be enough. Oil does not replace cleaning; it can leave soil and sap underneath a coating. Check wooden handles separately. If a handle feels rough, follow the tool maker’s advice before smoothing or treating it.
Store tools off the ground, with sharp edges protected and pointed away from hands. Keep snips closed or latched, and place them in a sleeve or separate compartment rather than loose in a bucket. In a shared plot, a labeled box can help keep clean tools apart from damp gloves and pulled weeds.
Use these observations to choose a care routine
- Loose, dry soil: Check whether dirt brushes off without sticking. If it does, brush the tool, wipe it and let it dry; if soil remains packed into the blade or tines, use a damp cloth or brief rinse on suitable metal parts, then dry thoroughly.
- Visible sap on a blade: Check the tool maker’s instructions and the cleaner’s label. If they permit rubbing alcohol on that metal, apply a small amount to a cloth and keep it away from flames; if compatibility is unclear, avoid the solvent and ask the manufacturer about a suitable cleaner.
- Moisture near a joint: Check the pivot, spring and handle connection after wiping. If any moisture remains, leave the tool open or separated to dry; if it is difficult to reach, use a dry cloth or brush rather than forcing water into the mechanism.
- Possible disease-bearing plant material: Check the tool guidance for an approved disinfectant. If one is specified, follow its label and dry the tool afterward; if none is specified or the finish is uncertain, pause and consult the maker before applying a product.
- Humid storage: Check whether condensation or damp surfaces are present where tools are kept. If so, choose a drier location and consider a tool-appropriate protective film if the maker recommends one; if the storage area is dry, prioritize cleaning and thorough drying instead.
- Tool oil near edible crops: Check the product label and tool instructions for the intended use. If both support that use, apply only as directed and wipe away excess; if either is unclear, leave the cutting surface untreated and seek product guidance.
- Loose or damaged parts: Check the blade, lock, handle and hinge before use. If any part is cracked, loose or failing to lock, set the tool aside for repair or replacement; if it is intact, return it to protected storage.
A hypothetical example of cleaning tools for a shared shed
Imagine a gardener with hand snips, a trowel and a small fork, using a shared unheated shed. After trimming a plant, the snips have visible sap near the pivot, while the other two tools carry damp soil. The gardener first checks the snips’ care instructions and the rubbing-alcohol label. If both permit use on the metal blade, the gardener applies a small amount to a cloth, wipes the blade and pivot area without pouring liquid into the joint, then follows the label and lets the tool dry. If compatibility is unclear, the gardener sets the snips aside and consults the maker instead.
Next, the gardener brushes the soil from the trowel and fork, wipes their metal parts with a damp cloth, and dries them. All three tools are left open or separated on a dry shelf until no moisture is visible at blades, joints or handle connections. Before applying oil, the gardener checks the tool guidance and product label. If both support use on the relevant metal, a very light film may be applied as directed; otherwise, the tools go away clean and dry without oil. The expected result is that loose soil and permitted sap residue are removed, while uncertain products are kept off the tools. The tradeoff is a little extra checking after pruning; if the tools were clean and the shed dry, a quick brush and dry wipe would be simpler.
Keep cleanup specific to the tool
Place a brush, cloth and tray near the spot where garden work ends. After each task, check the blade or tines, the joint and the handle connection; then choose the least intensive method that addresses what you see. Ordinary loose dirt calls for brushing and drying, stubborn residue calls for careful cleaning, and humid storage may call for additional protection approved for that tool.
For tools with unfamiliar coatings, finishes or moving parts, the manufacturer’s instructions are the safer reference than a general routine. A clean, dry tool stored with its edge protected is easier to pick up for the next job and less likely to transfer old residue to the work area.